

VS Code 설치부터 한 번 해볼까용?
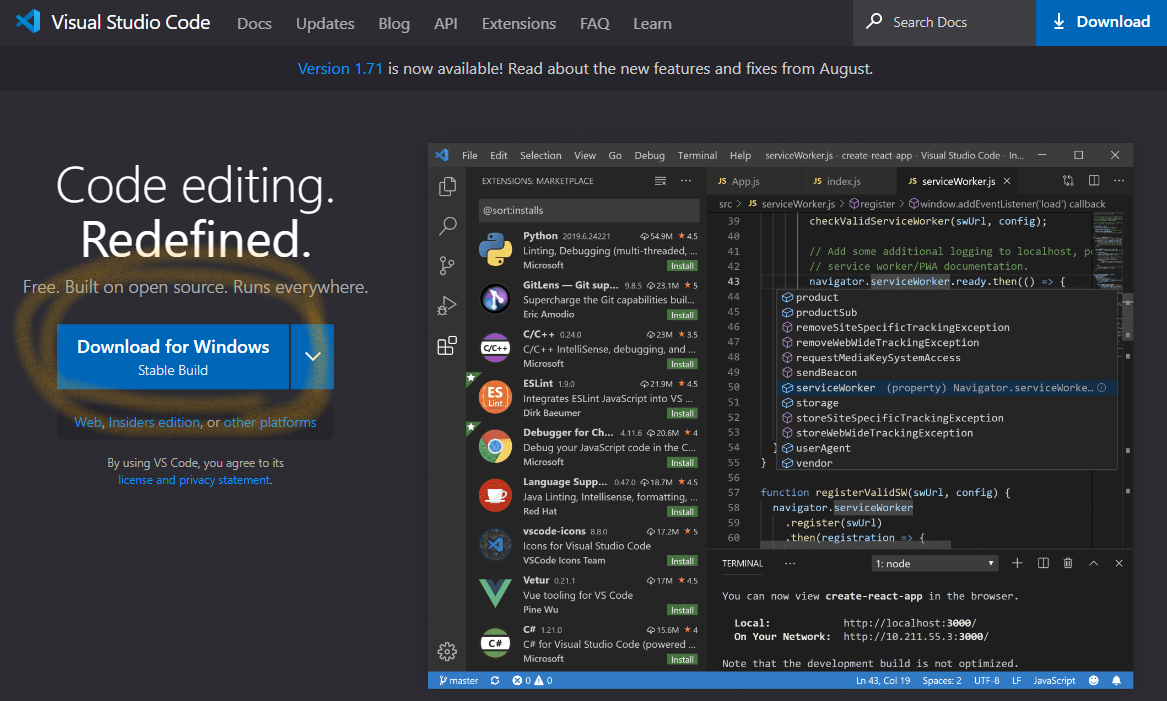
- vs code 공식 홈페이지로 들어가줍니다. ( https://code.visualstudio.com/ )
- 그리고 다운로드 버튼을 누릅니다아~
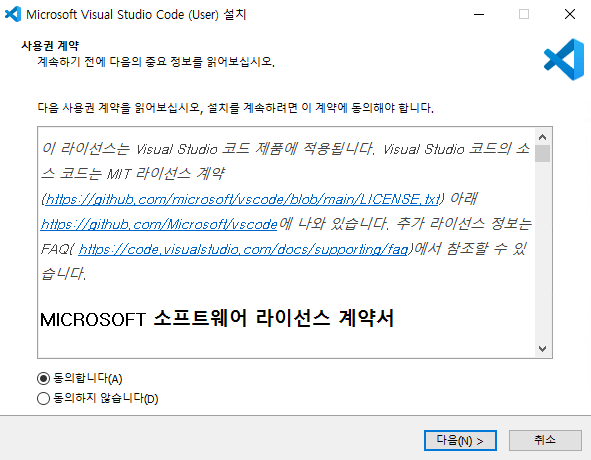
- 그리고 다운로드 받은 파일을 눌러 설치파일 실행 시켜줍니다!
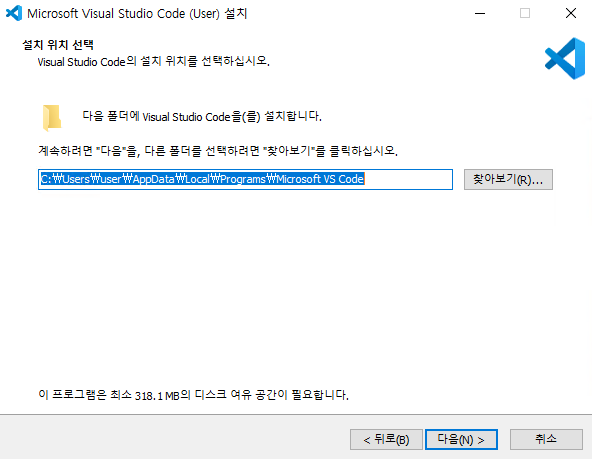
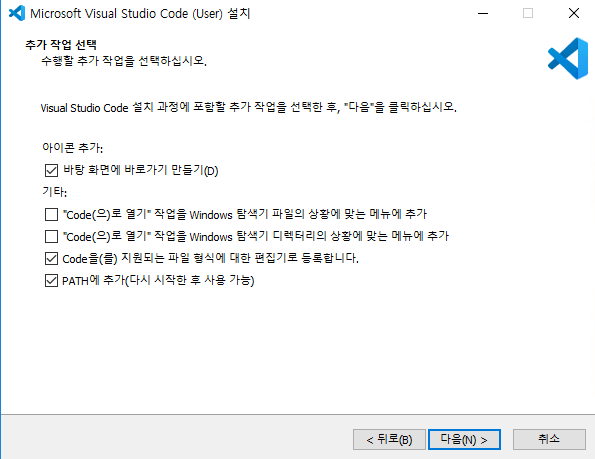
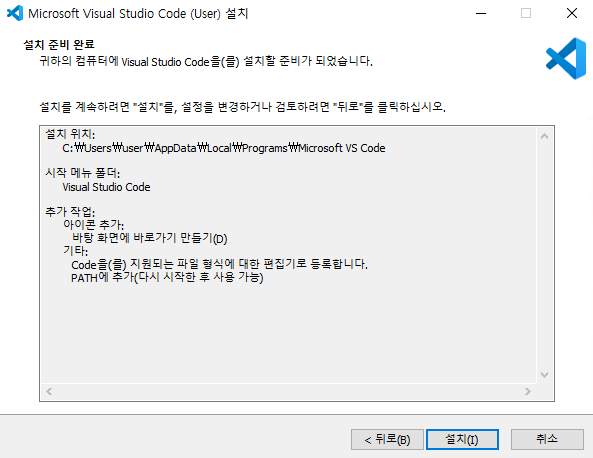
- 설치하고 싶은 위치에 세팅 해주고~~
- 설치는 원래 다 기본으로 해주는게 편한거 아시죵 히히
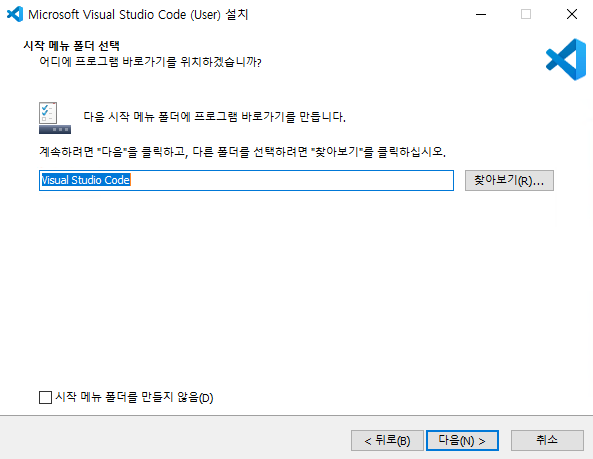
- 세팅은 나중에 다 바꿀 수 있으니까 디폴트로 깔고 가자구요
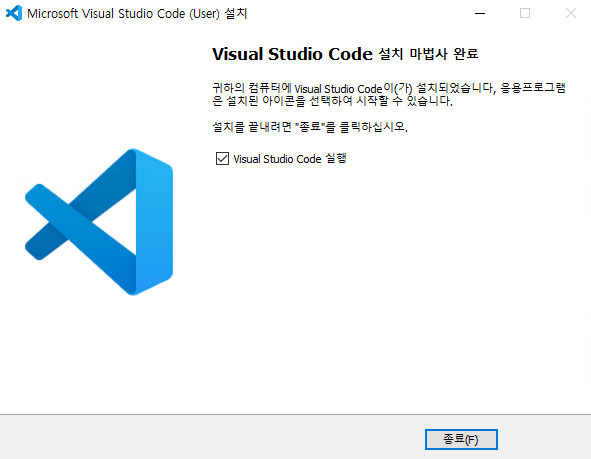
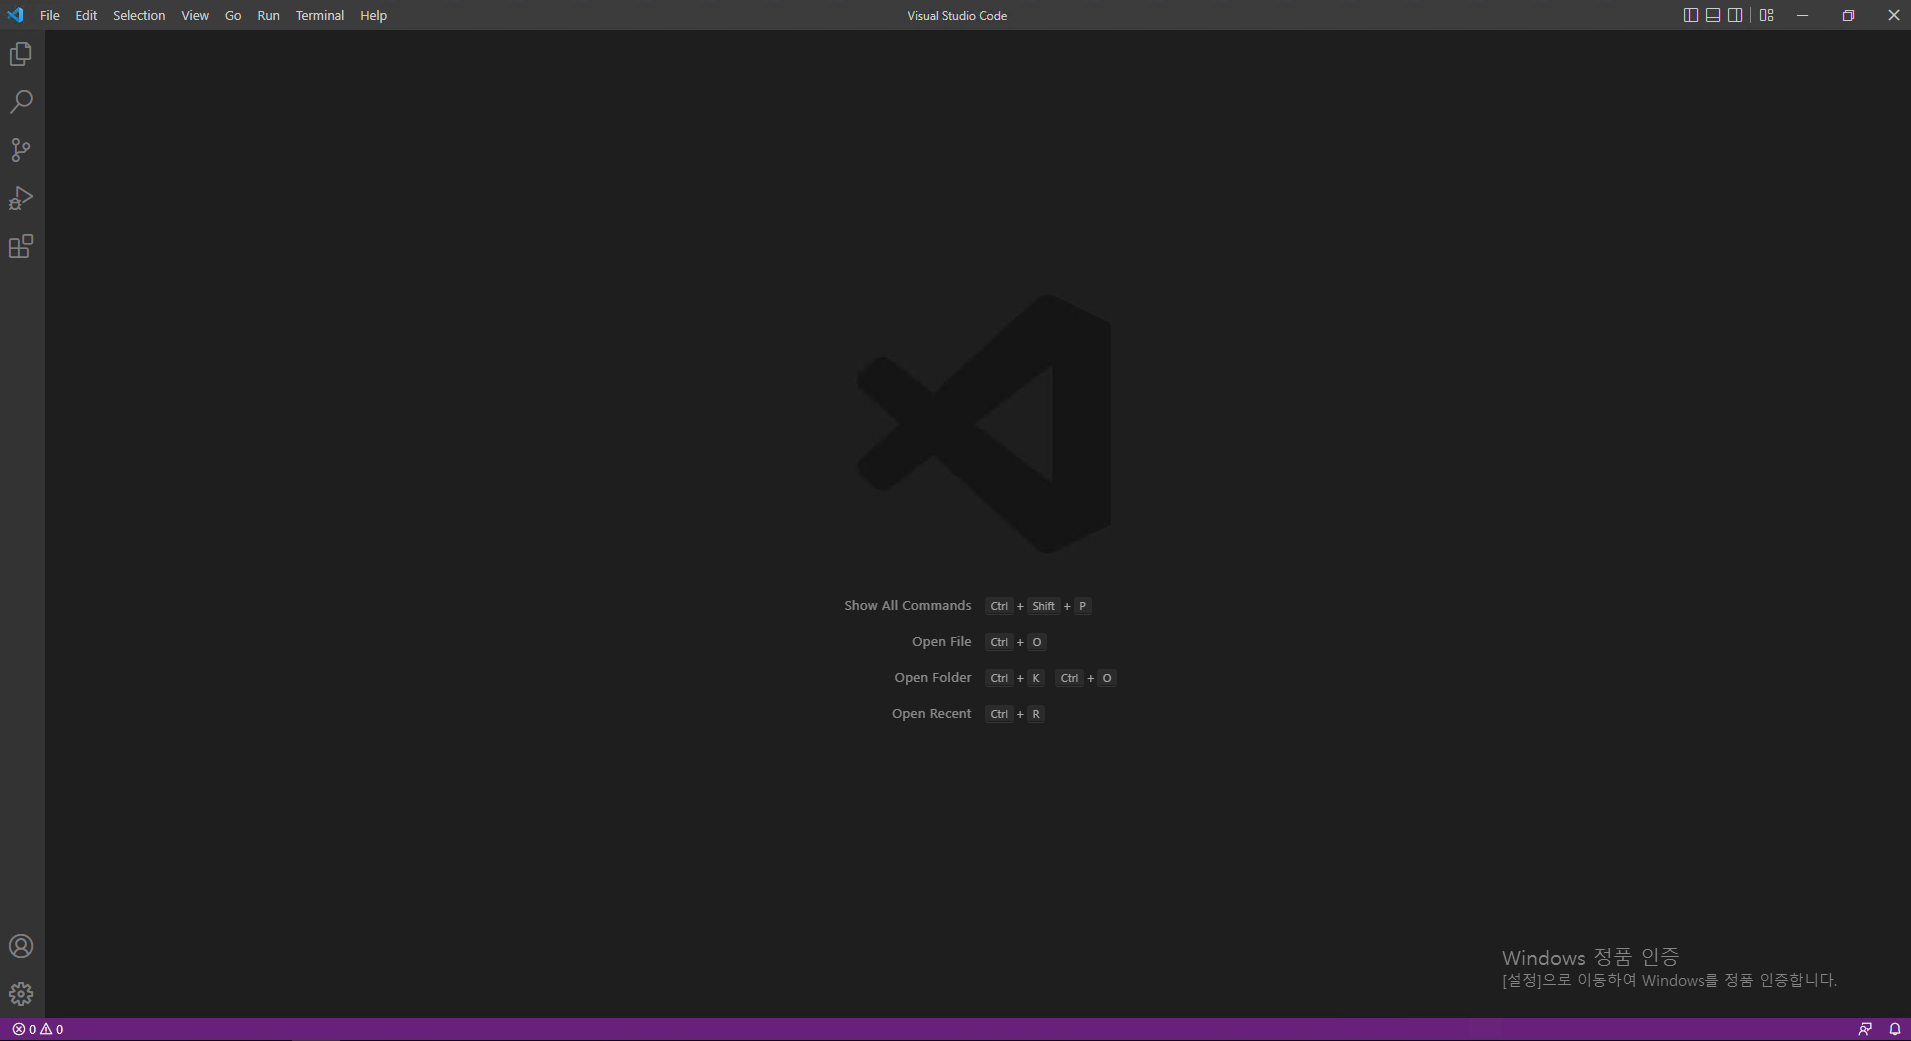
- 한 번 실행해볼까용?!
그 다음은 깃 배쉬 세팅!!
- 깃 배쉬를 기본 터미널로 세팅을 해줄건데용.. 깃 배쉬가 있으신 분들만 따라하시면 됩니다. 깃 배쉬를 설치하고 싶다?! 다 준비가 되어있죵.. 히히 ( 제 블로그에 다 나와있습니다! )
- 깃 배쉬 설치하기
[Git] Git Bash / 깃 사용 / 깃 배쉬 설치 / 깃 따라하기 / 깃 기본 세팅
🙂 준비물 1. 깃 배쉬 (Git Bash) : 윈도우에서 사용하지 못하는 리눅스나 유닉스 커맨드를 사용하는 것이 가능합니다. 2. 깃허브 아이디 (Github ID) 🙄 깃 배쉬 설치 & 실행 1. 공식 사이트로 들어갑니
dev-lsh.tistory.com
- 일단 터미널을 켜서 어떤걸로 켜지는지 확인해봅시다. ( Ctrl + Shift + ` ) (마지막 문자는 백틱이라고 1번 왼쪽에 있는 놈입니다.) >>> powershell 로 켜지는거 보이시죵.. 깃 배쉬로 변경해볼게용 (그냥 사용하셔도 무방합니다!)

- Ctrl + , 를 누르시면 vs code 세팅화면이 나옵니다!
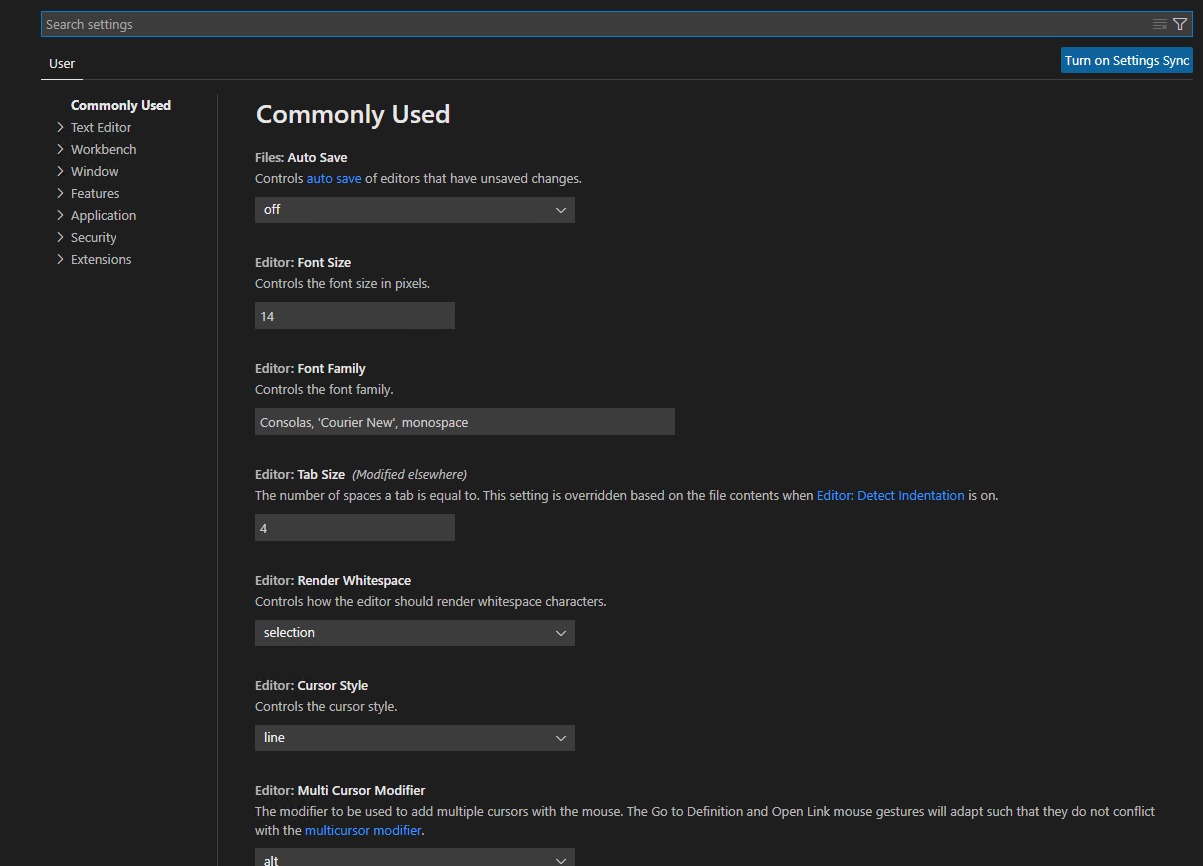
- 그리고 검색 창에 set 이라고 검색을 하면 settings.json을 편집할 수 있는 버튼이 나옵니다. (다른 곳으로 들어가도 되용 settings.json을 편집 할 수 있기만 하면 됩니다.)

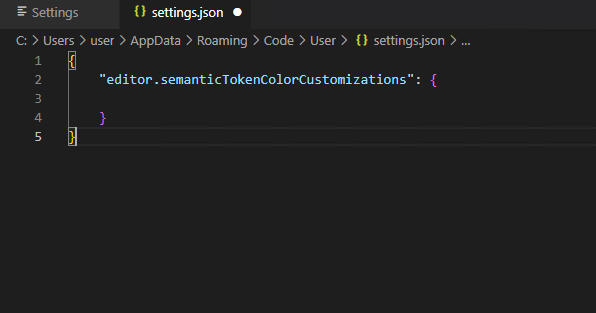
- 버튼을 누르게 되면 json 파일이 열리게 됩니다.
- 그리고 제가 입력한 대로 입력을 하시고, GitBash의 위치만 본인이 설치만 폴더로 잘 맞춰주시면 됩니당! (위치를 잘 설정해주시면 10번 째 줄의 노란 줄은 없어져용)
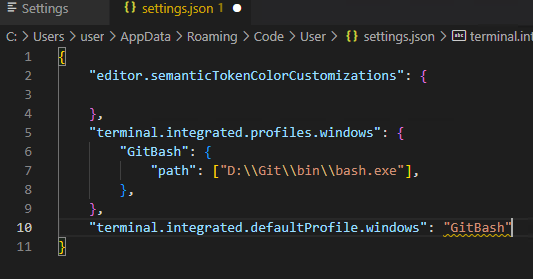
"terminal.integrated.profiles.windows": {
    "GitBash": {
        "path": ["D:\\Git\\bin\\bash.exe"],
    },
},
"terminal.integrated.defaultProfile.windows": "GitBash"복사하기 편하게 코드블럭으로다가!
- 그리고 나서 vscode를 껐다가 다시 켜고 터미널을 다시 한 번 켜보면? (터미널이 기존에 켜져있다면 창을 끄고 다시 켜보세용)
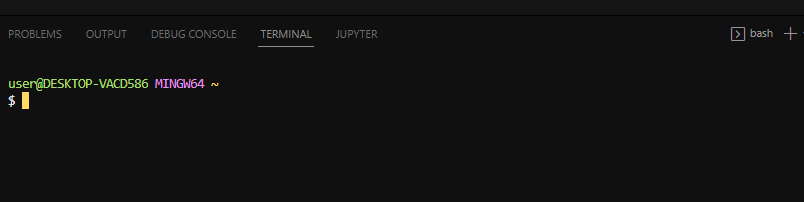
오예!
Extension Setting!!!!
( 필요없지만 개발자에게 감성이란.. ) ( 그리고 아주 필요없는 것도 아닌게 가독성도 높여주고 preview 기능도 있고, 자동완성 등 좋은게 많아용 )
- 왼쪽 아이콘 다섯 개 중 제일 아래 부분을 눌러 주시면 ! 아래 화면이 나옵니당
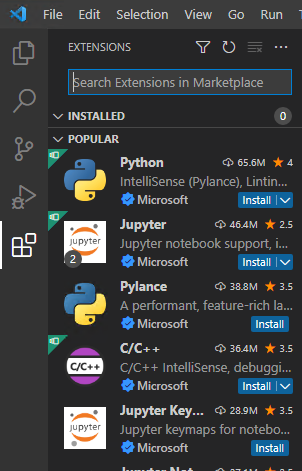
- 여기서 본인이 필요한 익스텐션을 깔아주시면 되는데용
- 익스텐션이 필요한 이유?!
vscode는 사실 그냥 메모장과 비슷한 역할이기 때문에 ide의 역할을 수행하기 위해서 약간의 확장이 필요합니다. - 제가 추천해드리는 extension! (프레임워크나 개발언어 등에 대한 것은 본인이 사용하는 것에 따라 다르기 때문에 잘 검색해보시고 설치하시면 됩니당!)
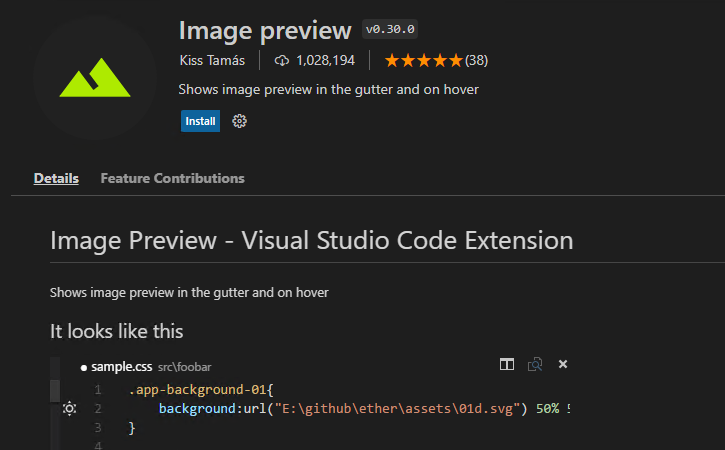
Image preview (이미지를 코드안에 넣을 때 경로를 입력하면 왼쪽에 아이콘이 뜹니다.)
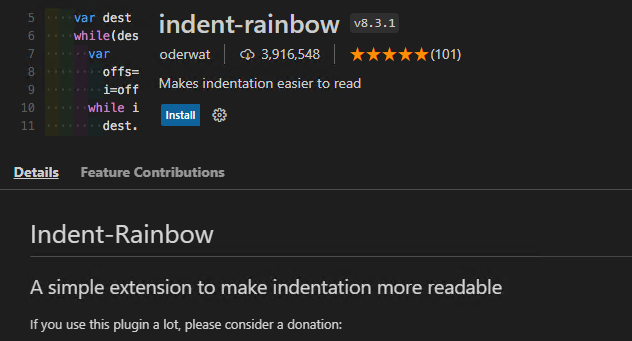
indent-rianbow (가독성을 높여줍니다.)
Rainbow Brackets (요것도 가독성을 높여줍니다.)

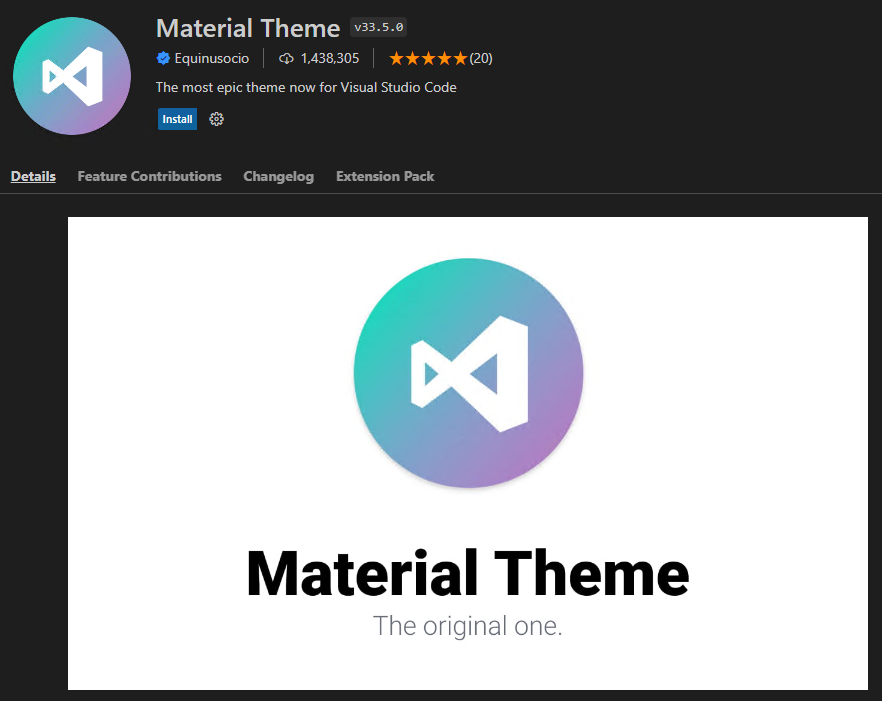
Material Icon Theme (요거는 폴더나 파일이 이쁘게 변경되는데 파일을 구분하기가 좋아용)
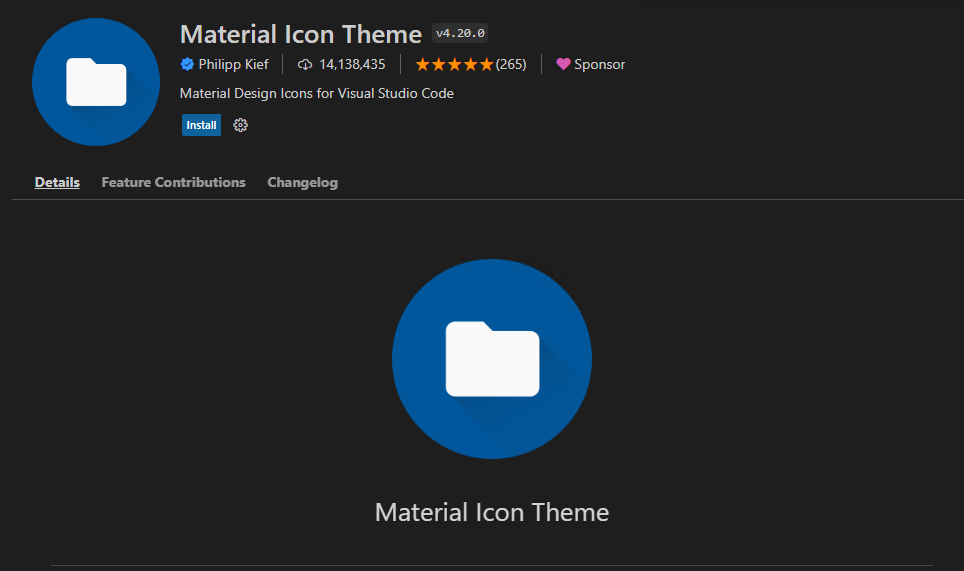
테마는 이쁜 것들이 많아서 굳이 Material 안 하셔도 됩니다.
여기까지! 가 제가 준비한 내용이에용
다른 좋은 Extension들도 많으니까잘 알아보시고 유용하게 사용해보세요 ㅎㅎ
빠위잉~🤗
'Computer > Common' 카테고리의 다른 글
| [Javascript] 📚 Set / Algorithm (1) | 2023.02.07 |
|---|---|
| [Algorithm] 📚 알고리즘 문제 접근법 (0) | 2023.02.06 |
| [Tistory] 티스토리 인용구 닫기 / 인용구 따옴표 닫기 / 티스토리 블로그 / 인용구 / 따옴표 / quote (0) | 2022.09.26 |
| Software Version Rules (버전) (0) | 2022.09.14 |
| 📚 DEV-LSH 📚 (1) | 2022.09.01 |